

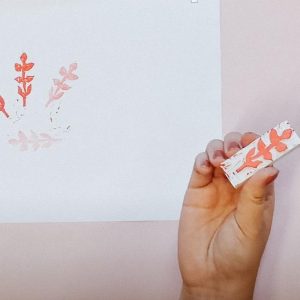
If you’re looking for something to do this weekend or while away a bit of time in a mindful creative way, why not make yourself this Keepsake Booklet?
Ellen, one of the editors of Dutch Flow, likes to use envelopes to store small things. Things like beautiful candy wrappers, the card of a favorite restaurant, or a dried flower that had been picked on vacation. The mini envelopes from the Flow Mix & Match for Paper Lovers package make a great keepsake booklet. Here, she shows us how she does it.
You will need:
- Flow Mix & Match for Paper Lovers package, namely the mini envelopes, writing paper and stickers
- Strip of (colored) card, 6.5cm x 22cm
- Piece of white card, 7cm x 24cm
- String
- Double-sided sticky tape
- Decorated masking tape
- Knife or scissors
- Folding bone
- Ruler
- Hole punch
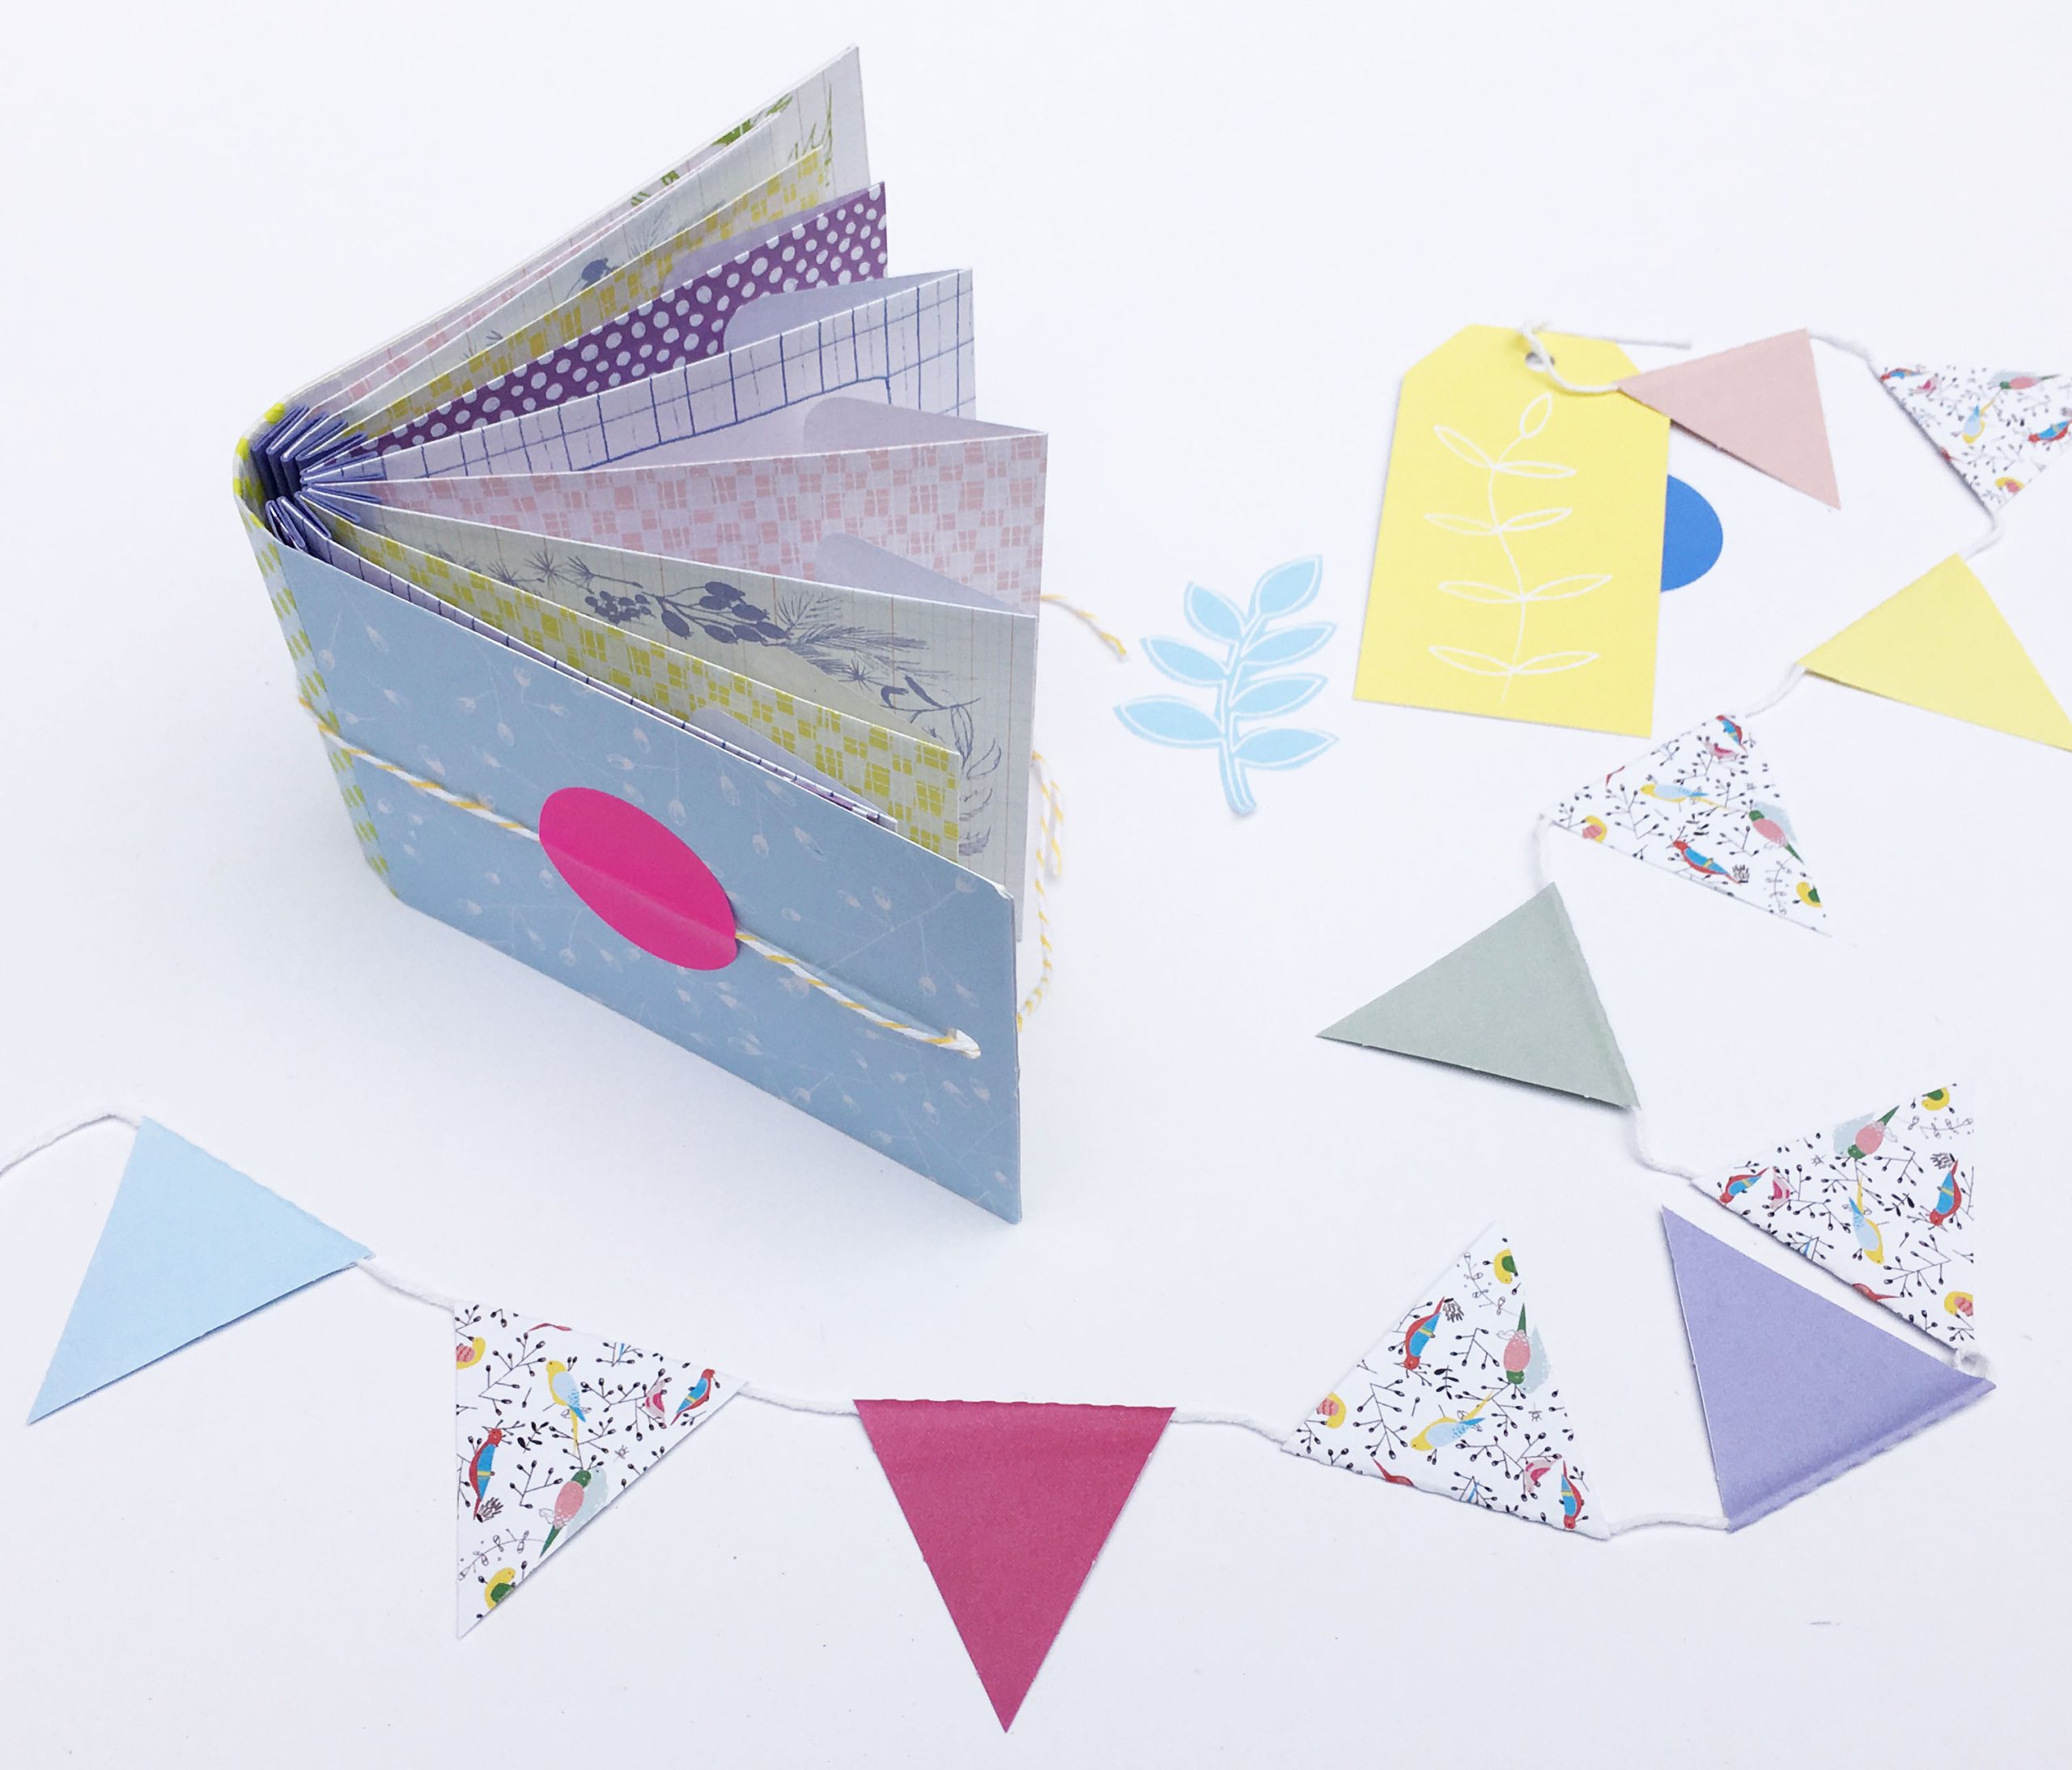
Mark the strips of card at each centimeter (along the 22cm length), and follow the lines to create creases using the edge of the ruler and the folding bone (or another blunt object, such as the side of a pair of scissors). Fold the card like a concertina; this way, you will be able to stick each mini envelope (along the 6.5cm side) into the card so they resemble “pages” of a book.
Use the second piece of card (7cm x 24cm) for the cover. Choose two sheets of writing paper that you would like to use as the inside and outside of the cover and cut these to 7cm x 24cm in size.
Stick the strips of paper onto the white card, using the double-sided sticky tape.
Place your ruler against the left edge of the long side, measure 10.5cm in and mark it lightly with a pencil. Do the same from the right-hand side. This will leave you with a space of about 3cm in the middle. Cover this space with the decorated masking tape—both inside and outside of the cover. Not only will this reinforce the spine, it also enhances the look of the booklet. Plus, you will be able to use the edges of the masking tape later as a guideline to help you stick the contents in.
Place the concertinaed card in such a way so that the last folds at both ends are pointing up (see photo above). These are called the “left side of the V.” Stick long strips of double-sided tape on each alternating fold—the “right sides of the V” (see photo above), except for the last one (so ten strips in total).
Next, turn the concertinaed card over and stick a small piece of double-sided tape into each “right side of the V” (again, ten strips in total).
Decide on what order you would like your envelopes to be in the booklet. Peel the protective cover off one of the long strips of double-sided tape and stick an envelope into the fold. Repeat the process with each one.
Once you have stuck all the envelopes in, you can open and close the card strip like the concertina instrument, but this isn’t so handy as a book, which is why you need to flip the card strip over and stick the back of each fold to hold the concertinaed card in place.
To make a booklet that you can page through, stick the back of the Vs together. Peel the protective cover off the shorter pieces of double-sided tape and stick them together. If they don’t stick together too well, use a paperclip to hold the folds in place.
Fold the envelope-filled concertinaed card like a closed book. You will have an extra strip of card at the front and back. Place a long strip of double-sided tape on each one so that you can stick the cover onto it.
Place the cover with the inside facing up to you. Peel off the protective film from the top part of the concertinaed contents and stick it to the inside of the cover, exactly along the left side of the masking tape. Repeat for the back, along the right side of the masking tape. Note: the cover is slightly larger than the envelopes. Therefore be aware of the spacing and try to stick the envelopes in the center.
Gently fold the booklet closed and make sure that the concertinaed folds lie directly above each other. If necessary, use a paperclip to strenthen the adhesion.
Use a hole punch to make a hole at both sides of the cover, and thread a piece of string through them. Run the string around the whole booklet and keep it in place with two stickers—one at the front and one at the back—from the Mix & Match for Paper Lovers package.
Wishing you lots of collecting pleasure!
Concept & Photos: Ellen Nij Bijvank (also designer at zuuz.nl)


