

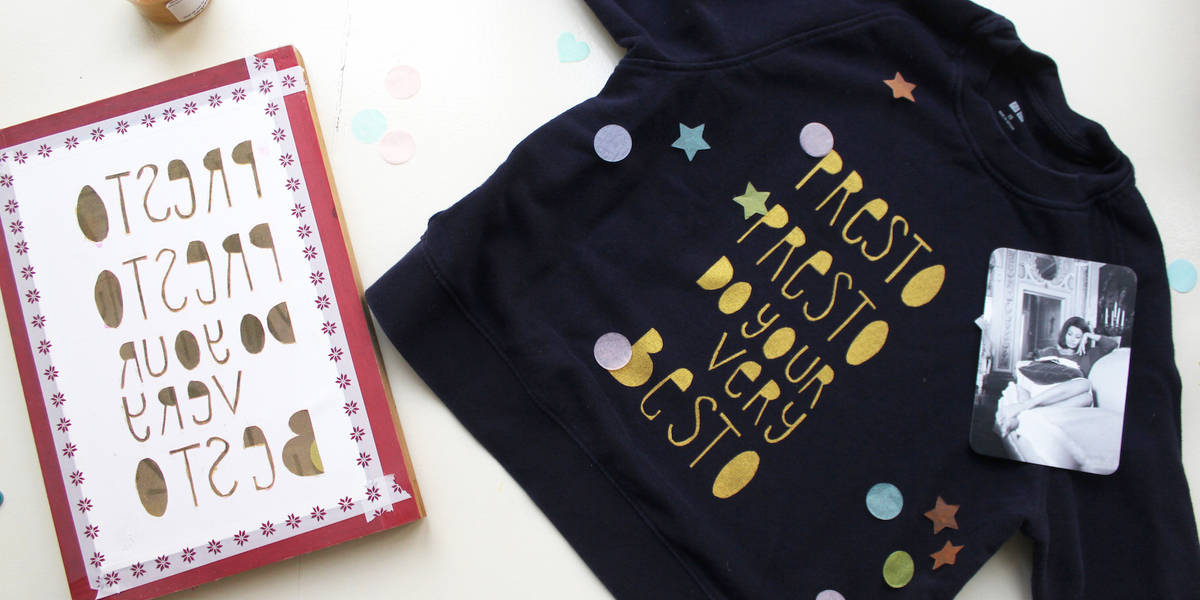
Making your own silk-screened shirt doesn’t have to be hard. Daan Rot, blogger, photographer and writer, shows us how it’s done.
You will need:
sheet of drawing paper • pencil • stencil sheet • sticky tape • craft knife • cutting mat • silkscreen • T-shirt • cardboard • teaspoon • ecofriendly fabric paint • squeegee • clothes iron • sheet of parchment paper
And this is how you do it:
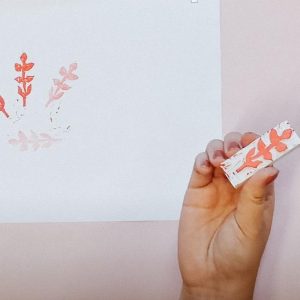
- Pick a nice quote. Cut your drawing paper so that it fits in the silkscreen, and make a sketch of your quote. Determine where you want the words to be and what size the letters should be. Make sure to leave an outer border of 1.5 cm free. Transfer your design onto the stencil sheet.
Tip: Tape your drawing onto a window and then tape the stencil sheet on top of that; this way, you can trace the letters very easily. - Using the craft knife, carefully cut the letters out.
Tip: Turn the stencil sheet instead of your knife. - Tape your stencil sheet onto the underside of the silkscreen.
- Place the piece of cardboard inside the T-shirt, this will protect the other side of the shirt from the paint. Place your silkscreen onto the side you wish to print.
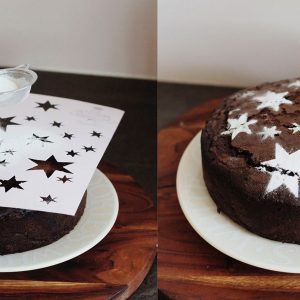
- Using the teaspoon, spread the fabric paint evenly along the base of the stencil sheet.
- Hold the silkscreen down firmly with one hand while you move the squeegee over the stencil sheet with your other hand. Hold the squeegee at a 45-degree angle. Repeat two to four times.
- Carefully lift the silkscreen, and allow your print to dry. 8. Fix the fabric paint with the iron. Be sure to place a sheet of parchment paper between the iron and the fabric.
- More DIY-projects can be found in our new special Flow Make it yourself.
Text and photography Daan Rot


