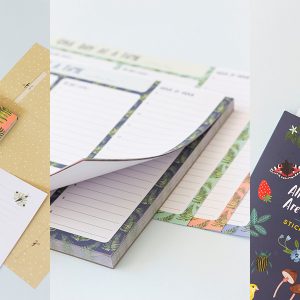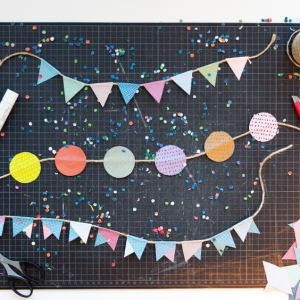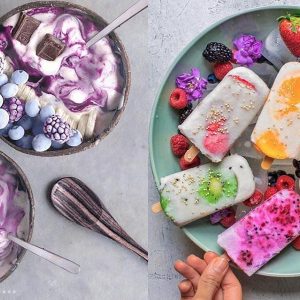
We’re running a special offer right up until the end of May. Buy a Flow Special* from our web shop and you’ll receive a 25% discount. Like the Flow Book for Paper Lovers 4, for example. This book is filled with 300 pages of paper goodies. Book artist Rachel Hazell delved into it and made a hanging star from the paper she found inside. Here, she gives us step-by-step instructions on how to do it.
- Simply use the code ‘special17’ when you’re at the checkout in our web shop.
*The offer is valid on all Flow Specials – with the exception of the Love & Life Special (in English) and the Dutch editions Flow Wonen 2017, Flow Mindfulness & Creativiteit 2017, and existing packages – while stocks last and ends on 7 May 2017.
You will need:
- glue stick
- scissors
- scalpel
- ruler
- bone folder
- patterned/colorful paper (preferably from the Flow Book for Paper Lovers)
- hole punch
- ribbon or string to hang
This is how you do it:
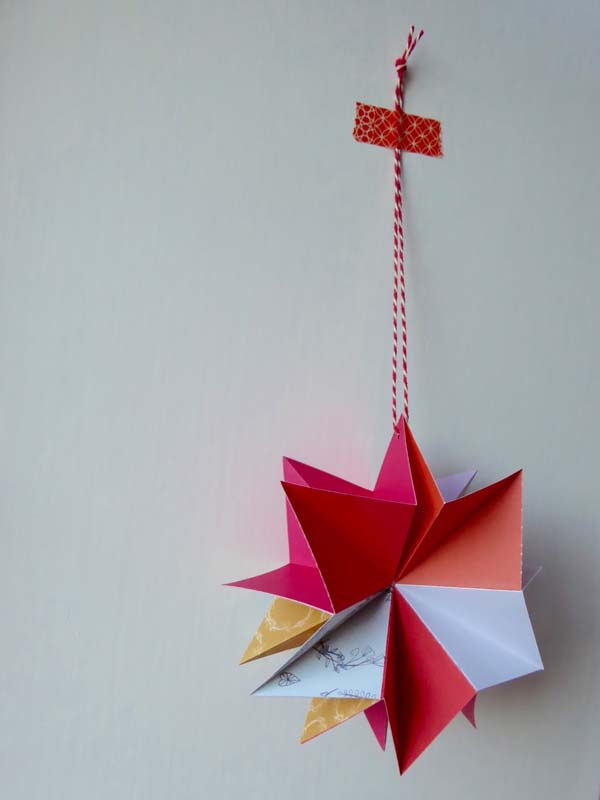
Choose your favorite papers and cut them into squares. Be as precise as you can. You’ll need five squares for each star, ideally.
Fold each square in half, straight edge to straight edge. Open out and repeat, so that each square is divided into four equal parts. It’s important that both of these folds are from the same side, so that they look exactly as the square shown below right. These are described as valley folds in origami. Do all the square folds first.
Next, make a diagonal fold on each square, opposite to the square folds you’ve just done.
You can see here how the diagonal fold is opposite to the square fold on each of these pieces. Depending on which way up the paper is, you will have two valley folds and one diagonal mountain fold, or two mountain folds and one diagonal valley fold… Sounds confusing? Sorry! It just makes the next part much easier this way.
With the diagonal fold as a valley, place the forefingers of each hand on the diagonal line, drawing each half together (see below).
This is called a frog fold. Ingenious eh?
Fold all your squares into frog folds.
Now, use the glue stick to cover the top of the first square, right to the edges. (Below, my finger is pointing where to glue!)
Place your second folded piece carefully on top, making sure that the middle point (where all the folds meet) is lined up with the one underneath.
It will look like this from the other side.
Four squares glued together look pretty good.
Five look more starry. I recommend not gluing the final square to the first square so that it can be folded flat for storage. I’ve also noticed that more than five squares makes the hanging star bottom heavy.
Keep forming stars in different combinations of pattern and color.
Use a hole punch to go through the first and last squares, and thread some string or ribbon through the holes.
This is what you can do with it:
- Make whole constellations of hanging stars of different sizes!
- Write or print on the pages
- Fold it up and post it to a special person…
For more paper love, visit Rachel’s website.