


If you’re looking for something to do this weekend or while away a bit of time in a mindful creative way, why not make yourself this Folding Mini Book?
This paper folding idea from Ingrid van Willenswaard of the blog Ing-Things, is a handy folding mini book that can be filled with pretty cards, photographs and notes.
This is what you need for the mini book:
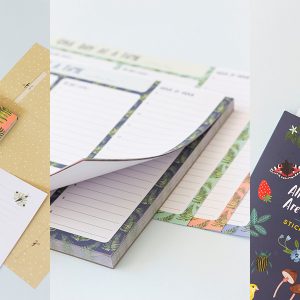
– Large sheets of paper from the Flow Book for Paper Lovers (you can use smaller sheets too, but you’ll need to glue them together)
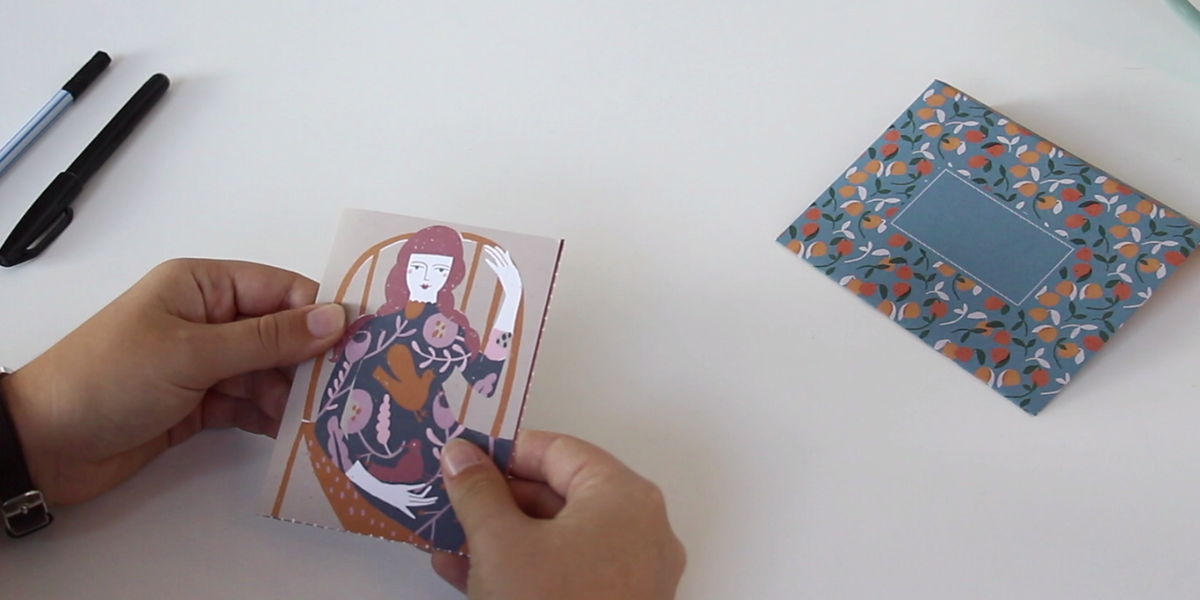
– Large, colored or printed card, or cards from the Book for Paper Lovers – for the cover
– A pair of scissors, glue, a ruler and some string to wrap around the book to tie it closed.
Step 1
Cut strips of paper that are 11 cm wide and 47 cm long. You can, of course, make the strips longer or shorter, depending on the size you want your book to be. Cut as many strips as you want – the more you use, the thicker the book: I use three for each mini book I make. Fold each strip lengthways, 3 cm in from the side.
Step 2
Open the fold out, and glue the strips together (at the shorter ends). Use an overlap of about 1 cm.
Step 3
Bring the side folds in again. Now fold the entire length of paper, like a harmonica, every 8 cm (or at whatever length you choose).
Step 4
Place the mini book on the piece of card and cut the card twice the size of the mini book. Fold the card in half, and glue the front and back pages of the mini book onto the card to make the cover.
Step 5
Your mini book is ready!
You can fill this mini book with nice messages for someone, or keep your collection of football cards, or business cards, in it. If you make the mini book a little bigger, you can also fill it with photographs or postcards.
Ideas from Ingrid:
You can close the mini book in various ways:
- With a sticker. This is a nice option when giving this as a gift.
- With a colored elasticated band. Cut it down to the right size, sew the ends together with a few stitches and wrap it around the mini book.
- Tape a piece of string to the back of the book and use it to tie it closed.
- Cut the cardboard a little bit wider than the mini book (about 1 cm) and punch two holes in it (front and back) with a perforator, then pull a ribbon or string though the holes to tie it closed.
- Put a XXXL paperclip around the whole mini book.
- Use two simple elastic bands.
- Cut a piece of thin elastic twice the width of the book. Thread one end through a button’s hole and pull the button to the middle of the band. Tie a knot in both ends of the elastic and wrap it around the book (tuck the elastic behind the button).
You can also leave the mini book open if you like how that looks. Enjoy your paper crafting!


