Making your own cyanotype
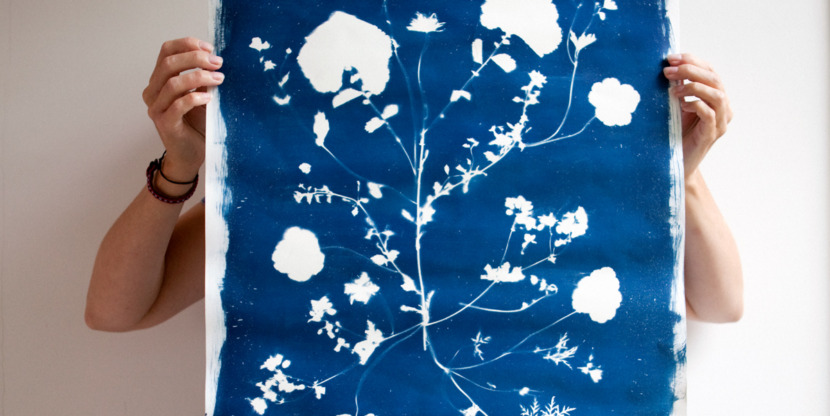
cyanotype

Would you like to make your own cyanotype? Wenda Torenbosh, a stylist from The Netherlands, explains how to do it in 6 simple steps. 

You will need
A cyanotype kit (including two small bottles of chemicals (A1 and B), measuring cylinder, stirrer, foam brush and mixing cup) • water • dried flowers • sheets of watercolor paper • wooden board • glass plate (the last three in size: A2/420×594 mm/approx. ANSI C)

You also need three spaces

  • A place where no direct daylight will fall on your paper (it’s not necessary to have a completely dark room like for photography).
  • Somewhere with sunshine: preferably outdoors during a bright, sunny day. That’s when the UV-sensitive paper works best and you’ll get a beautiful dark blue print.
  • A large sink.

The 6 steps

  1. Add 100 ml of water to bottle A1 and 100 ml of water to bottle B. Mix A1 and B in the measuring cylinder: start with a small amount (10 ml of each bottle is enough for two sheets of watercolor paper). Mix the chemicals with the stirrer and pour the mixture into the mixing cup. Use the foam brush to cover the watercolor paper with the mixture. Let the paper dry for 30 to 60 minutes in a dry place.
  2. Lay the paper on the wooden board (make sure the paper is completely dry or your owers will stick to it). Arrange your dried owers on the paper in a composition that you like.
  3. Place the glass plate on the paper and put the entire board in direct sunshine. Wait for the paper to change from yellow to green to purple: this will take about ten to twenty minutes, depending on how strong the sun is shining.
  4. Fill a sink with water and submerge your paper in the water for twenty minutes. You will see the paper change color from purple to blue.
  5. Let the paper dry for a day.
  6. Done!

*More DIY-projects can be found in our special Flow Make it yourself.
* To make the cyanotypes, parts of the DIY-kit by Print-art-read.nl were used.

Text Wenda Torenbosch Photography Maria Stijger